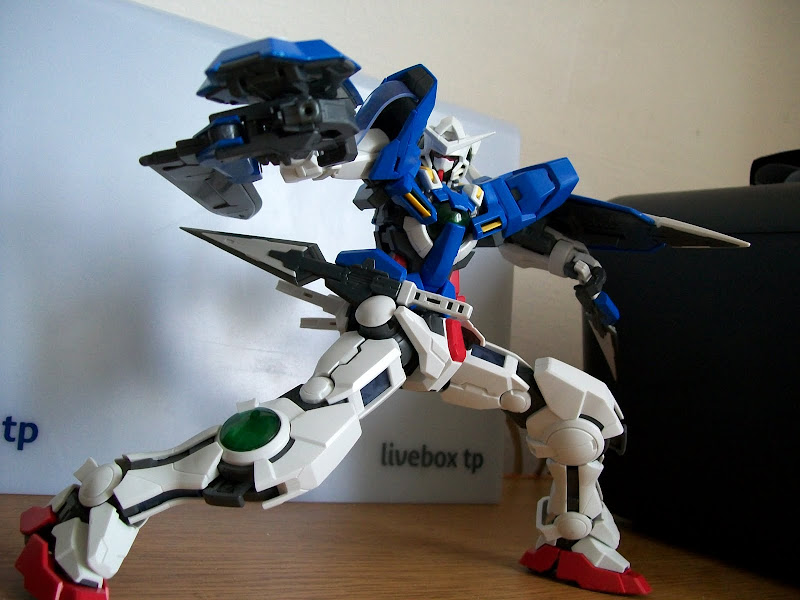
Exia time!
As I'm waiting for some parts that I will ues on my other projects to arrive i started new project - MG Exia. this will be a dual build (still waiting for second Exia to arrive) or I might as well work on my HG Exia and make it a tripple build - depends on you guys.
As for the MG I'm gonna use Exia with Clear parts and Ignition Mode. The plan is: 1st I will make regular Exia but use LED from Ignition mode (not so crazy about chrome parts so far) and paint it in Setsuna F. [s]Say Yeah[/s] Seiei custom colors, You can call it Innovator Custom - for that I will use a little modified Qan[T] color scheme (the first one, not the new one) with use of digital camo. For the second kit - I have no idea.. propably will make it [s]terminator[/s] Repair but all ideas are welcom. For HG I have a few ideas but don't know if You guys want me to build it with those 2.
As for the kit itself I have to say it's not as bad as reviews made me bellive. Maybe because it's Clear Parts version, we will see after my Ignioton arrives. Only problem I encountered is in arms and hands - weapons doesn't wanna stay very well. They don't fal out on their own but it's hard to find right spot for them to stay. I'm thinking about adding a little rod in Gn Sword and Shield andd a little hole in arm slot. What you guys think?
So far Innerframe is detailed, First I used something I call metailzing, it similar to drybrushing but not exatcly. You take a dark mettilc color (in my case 57 Me Annealed Steel from Agama) take a little more than for deybrushing and make some realy quick dellicate passes on part, You wanna focus on wide areas instead of edeges. Will do a vid if you want. It's not somethin complicated and obviously there are better ways but I ilke it. It leaves original color of the parts (I use it mostly on innerframes and stuff like that)but ads a metilc feel.
left - after, right - before
left - after, right - before
After that some normal drybrushing using 46 Me Aluminium to show the edges
top - after, bottom - before
top - after, bottom - before
Expect to see more soon


Comments
Post a Comment