Exia time! part 2
Update!
First a little about my workspace (more about if demanded) I got myself somthing like that:
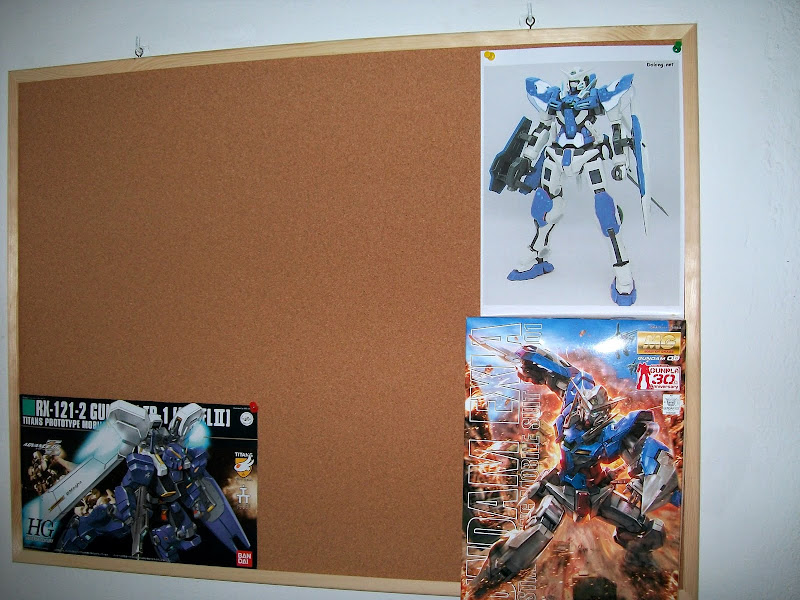
It's a very useful board, I will use it for reference pics, designs, my photos. So I don't always have to look at PC. and it looks nice :)
NOw here YOu have a quick work in photoshop (oh my crappy skillz...), this is the colour scheme... well a general idea. Small changes were made here and there but it's just to get the idea and keep me motivated.


Decals I'm gonna use, one that came with the kit and some waterslides from samueldecals, generic white markings and ones for 1/144 Exia - mostly for CB specific decals.
Now the actual update:
After looking at the clear green parts I decided to paint the frame behind them gold to give it more shine.
Now you think: "why he would do that? stickers will cover it anyway..."
You're right. But only partialy. I'm still gonna use stickers BUT I will cut out only the green ring and text. Aditionaly I panel lined insides of green orbs, now the text is much more noticeable (sorry for no pics, only tested in on 2-3 parts will post after doing rest).

Another thing I noticed is that holographic parts look much much better on shiny surfraces. So what I done I took the same gold oil marker I used for the orbs and painted parts of the inner frame that will be visible thru holo parts.

Here is a pic of marker in question, I also bought a silver one.

It is a diffrent shade than Gundam Marker, much more shiner when seen in person and much more metailc feeling.
Finaly we got to see some actual painting. Here are the red parts:
[i]sorry for those light reflexes, it was 6am and kinda dark[/i]

Nope, you reading it right RED parts, well they used to be :P.
Steps taken:
1. remove nubs
2. sand 400 grit
3. sand 800 grit
4. wet sand 800 grit
5. wet sand 1200 grit
6. wash
7. dry
8. spraypaint primer
9. wait to dry overnight
10. handpaint Agama A41 M Air Superiority Blue (FS 35450)
11. wait to dry overday
12. mask
13. spraypaint laquer blue*
14. wait to dry overnight
15. reamove masking tape
There will be more steps afterward :P
Now about * - this is a blue paint I got from work some time ago - they didn't need it so well... I have no idea what is the name of that color, but it looks awesome. I tought it will be much more darker and blueish (if that makes sense) and at first was kinda meh about using it, but my memories about handpaintint camo patterns were to scary... In the end it exceeded my expectations. Well there are few spots I have to touch up but only in light blue. Lesson learned: As I'm relatively to spraypainting (I LIKE handpainting but one day airbrush is a must) I need to remeber to make even thinner coats, at least with that paint as it is relativly thicker than white I was using before and primer I use, maybe it's because it's a few years old German paint from some not known company specialized in automotive products (AFAIK)
Another (IMO better) pic:

things I also did but not in the pictures:
primed blue parts
gloss coated innerframe (run out of gloss coat...)
till next upadate

damn thats a whole lot of work, but it will pay out in the end.
ReplyDeleteyou really worked up your skills in the past year or so.
keep it up
wow... a digital color scheme. Looks like a lot of work..hang in there. Marc is right, it will pay off in the end.
ReplyDeleteLooking forward to your next update.
wow... a digital color scheme. Looks like a lot of work..hang in there. Marc is right, it will pay off in the end.
ReplyDeleteLooking forward to your next update.